中安拓也のブログ

プログラミングについて書くブログ

ng updateでAngularをv7 -> v8にアップグレードする

はじめに

趣味プロ中にAngular v8以上じゃないと使えない構文がでてきたので、Angularのバージョンを7から8にアップグレードすることにした。

Angular CLIで作成したプロジェクトなので、ng updateコマンドでアップグレードを実施することができる。

環境

アップグレード前のAngularプロジェクトのバージョン情報

$ ng version

Angular CLI: 7.3.9
Node: 8.11.3
OS: darwin x64
Angular: 7.2.15
... animations, common, compiler, compiler-cli, core, forms
... language-service, platform-browser, platform-browser-dynamic
... router

Package                           Version
-----------------------------------------------------------
@angular-devkit/architect         0.13.9
@angular-devkit/build-angular     0.13.9
@angular-devkit/build-optimizer   0.13.9
@angular-devkit/build-webpack     0.13.9
@angular-devkit/core              7.3.9
@angular-devkit/schematics        7.3.9
@angular/cdk                      7.3.7
@angular/cli                      7.3.9
@angular/fire                     5.2.3
@angular/material                 7.3.7
@ngtools/webpack                  7.3.9
@schematics/angular               7.3.9
@schematics/update                0.13.9
rxjs                              6.3.3
typescript                        3.2.4
webpack                           4.29.0

出典元(公式サイトURL)

angular.jp

アップグレード

公式サイトの説明にしたがってng update @angular/cli @angular/coreコマンドを実行

$ ng update @angular/cli @angular/core

ng updateコマンドを実行した後に、ng versionコマンドを実行することで正常にアップグレードされていることを確認する

$ng version

Angular CLI: 7.3.6
Node: 8.11.3
OS: darwin x64
Angular: 8.2.14
... animations, common, compiler, compiler-cli, core, forms
... language-service, platform-browser, platform-browser-dynamic
... router

Package                           Version
-----------------------------------------------------------
@angular-devkit/architect         0.803.20
@angular-devkit/build-angular     0.803.20
@angular-devkit/build-optimizer   0.803.20
@angular-devkit/build-webpack     0.803.20
@angular-devkit/core              8.3.20
@angular-devkit/schematics        8.3.20
@angular/cdk                      7.3.7
@angular/cli                      8.3.20
@angular/fire                     5.2.3
@angular/material                 7.3.7
@ngtools/webpack                  8.3.20
@schematics/angular               8.3.20
@schematics/update                0.803.20
rxjs                              6.5.3
typescript                        3.5.3
webpack                           4.39.2

Angularの7から8へのアップグレードが正常に完了していることがわかる

動作確認とエラーの解消

続いて、アップグレードしたAngularプロジェクトをng serve --openコマンドでビルドしてみると、エラーが発生する。

$ ng serve --open
Schema validation failed with the following errors:
  Data path ".builders['app-shell']" should have required property 'class'.
Error: Schema validation failed with the following errors:
  Data path ".builders['app-shell']" should have required property 'class'.
    at MergeMapSubscriber._registry.compile.pipe.operators_1.concatMap.validatorResult [as project] (/usr/local/lib/node_modules/@angular/cli/node_modules/@angular-devkit/core/src/workspace/workspace.js:215:42)
    at MergeMapSubscriber._tryNext (/usr/local/lib/node_modules/@angular/cli/node_modules/rxjs/internal/operators/mergeMap.js:69:27)
    at MergeMapSubscriber._next (/usr/local/lib/node_modules/@angular/cli/node_modules/rxjs/internal/operators/mergeMap.js:59:18)
    at MergeMapSubscriber.Subscriber.next (/usr/local/lib/node_modules/@angular/cli/node_modules/rxjs/internal/Subscriber.js:67:18)
    at MergeMapSubscriber.notifyNext (/usr/local/lib/node_modules/@angular/cli/node_modules/rxjs/internal/operators/mergeMap.js:92:26)
    at InnerSubscriber._next (/usr/local/lib/node_modules/@angular/cli/node_modules/rxjs/internal/InnerSubscriber.js:28:21)
    at InnerSubscriber.Subscriber.next (/usr/local/lib/node_modules/@angular/cli/node_modules/rxjs/internal/Subscriber.js:67:18)
    at MapSubscriber._next (/usr/local/lib/node_modules/@angular/cli/node_modules/rxjs/internal/operators/map.js:55:26)
    at MapSubscriber.Subscriber.next (/usr/local/lib/node_modules/@angular/cli/node_modules/rxjs/internal/Subscriber.js:67:18)
    at SwitchMapSubscriber.notifyNext (/usr/local/lib/node_modules/@angular/cli/node_modules/rxjs/internal/operators/switchMap.js:86:26)
    at InnerSubscriber._next (/usr/local/lib/node_modules/@angular/cli/node_modules/rxjs/internal/InnerSubscriber.js:28:21)
    at InnerSubscriber.Subscriber.next (/usr/local/lib/node_modules/@angular/cli/node_modules/rxjs/internal/Subscriber.js:67:18)
    at /usr/local/lib/node_modules/@angular/cli/node_modules/rxjs/internal/util/subscribeTo.js:17:28
    at Object.subscribeToResult (/usr/local/lib/node_modules/@angular/cli/node_modules/rxjs/internal/util/subscribeToResult.js:10:45)
    at SwitchMapSubscriber._innerSub (/usr/local/lib/node_modules/@angular/cli/node_modules/rxjs/internal/operators/switchMap.js:65:54)
    at SwitchMapSubscriber._next (/usr/local/lib/node_modules/@angular/cli/node_modules/rxjs/internal/operators/switchMap.js:55:14)

上記のエラーだが、下記の手順で修正することができる。

  1. package.jsonを開いて、"@angular-devkit/build-angular"のバージョンを"^0.800.0"から"~0.12.1"にする
  2. node_modules/ディレクトリを配下ごと削除して、npm iコマンドでnpmパッケージをインストールする

上記の手順でエラーを解決してng serve --openコマンドを実行すると下記の別のエラーが発生する。

$ ng serve --open
Schema validation failed with the following errors:
  Data path "" should NOT have additional properties(es5BrowserSupport).

上記のエラーについては下記の手順で解消することができる

  • angular.jsonファイルを開いて、"es5BrowserSupport": trueと書かれている行を削除する

上記の手順を実行すると全てのエラーが解消し、ビルドできるようになる

参考サイト

angular - Ionic problem: [ng]Schema validation failed with the following errors:[ng]Data path".builders['app-shell']"should have required property 'class' - Stack Overflow

angular - Schema validation failed with the following errors: Data path ".builders['app-shell']" should have required property 'class' - Stack Overflow

angular - Data path '''' should NOT have additional properties (es5BrowserSupport) - Stack Overflow
angular - Error: Schema validation failed with the following errors: Data path "" should NOT have additional properties(project) - Stack Overflow

Angular 日本語ドキュメンテーション

【障害メモ】[ionic-v3][Android][input text]ワンタップでキーボードが出てこない・文章の途中にカーソルを合わせることができない

障害内容

Ionic v3のAndroidアプリで、入力フォームを複数回タップしないとソフトキーボードが出てこなかったり、文章の途中に間違いがあってもカーソルをテキストの最後にしか移動できないから、全消ししないと誤った文章を修正できない、といった障害が発生した。

障害を検知したのは、Android 9.0の端末となる。

環境

  • cordova (Cordova CLI) : 8.0.0
  • Ionic Framework : ionic-angular 3.9.5
  • Android 9.0

修正方法

SCSSファイルに下記の記述を追加したら、障害が改修した。詳しくは参考サイト参照のこと

.md {
  .input-cover {
    display: none;
  }
}

参考サイト

[Accessibility - Android] <ion-input> is not acknowledged by Android Talkback · Issue #1049 · ionic-team/ionic-v3 · GitHub

【障害メモ】[cordova-plugin-keyboard][Android]ソフトウェアキーボードが入力フォームを覆い隠してしまう

障害内容

モバイル・タブレット端末のソフトウェアキーボードが、入力フォームの前面に表示されてしまうため、画面の下部にある入力フォームがキーボードに隠されて見えない。Android端末のみで発生

環境

  • cordova (Cordova CLI) : 8.0.0
  • Ionic Framework : ionic-angular 3.9.5
  • cordova-plugin-ionic-keyboard@2.0.5

修正方法

実際に本障害をなおす上で実施した改修

  1. cordova-plugin-ionic-keyboardのバージョンを2.2.0にアップグレードする
  2. アプリを全画面表示にするのをやめる

ライブラリのアップグレードは必要なかったかも.......

アプリを全画面表示にするのをやめる

具体的には、config.xmlから<preference name="Fullscreen" value="true" />を削除してアプリの全画面表示設定を解除したり、cordova-plugin-statusbarでステータスバーのオーバーレイ設定をオンにしている場合は、オフにするなどする必要がある。

ステータスバーのオーバーレイ表示をオフにする

StatusBar.overlaysWebView(false);

アプリの全画面表示をオンにしたままでも、cordova-plugin-ionic-keyboardresizeOnFullScreentrueにする(config.xmlに<preference name="resizeOnFullScreen" value="true" />を追加する)ことでキーボードの本バグを修正できるとのことだったが、自分の場合は、別の障害(ナビゲーションバーが画面の下部を覆い隠す)が発生したりしてうまくいかなかった

参考サイト

https://github.com/ionic-team/cordova-plugin-ionic-keyboard#resizeonfullscreen-for-android-only

https://github.com/apache/cordova-plugin-statusbar#statusbaroverlayswebview

【障害メモ】[cordova-plugin-camera]縦向きに撮影した画像が横向きで表示される

障害内容

cordova-plugin-cameraを使用して、端末の画像ライブラリから画像を選択したり、写真を撮影したりすると、画像の向きが縦から横に変わって表示される。Android端末のみで発生

環境

  • cordova (Cordova CLI) : 8.0.0
  • Ionic Framework : ionic-angular 3.9.5
  • cordova-plugin-camera@4.7.0

修正方法

camera.CameraOptionscorrectOrientationtrueに設定する。

カメラを使用して写真を撮影したり、デバイスの画像ギャラリーから画像を選択するときに呼ぶcamera.getPicture(successCallback, errorCallback, options)メソッドにcorrectOrientationtrueに設定したoptionsを引数として渡してあげると、正しい画像の向きで写真が表示される。

参考サイト

GitHub - apache/cordova-plugin-camera: Apache Cordova Plugin camera

【Git】SourceTreeでブランチ間の差分を表示する

やりたいこと

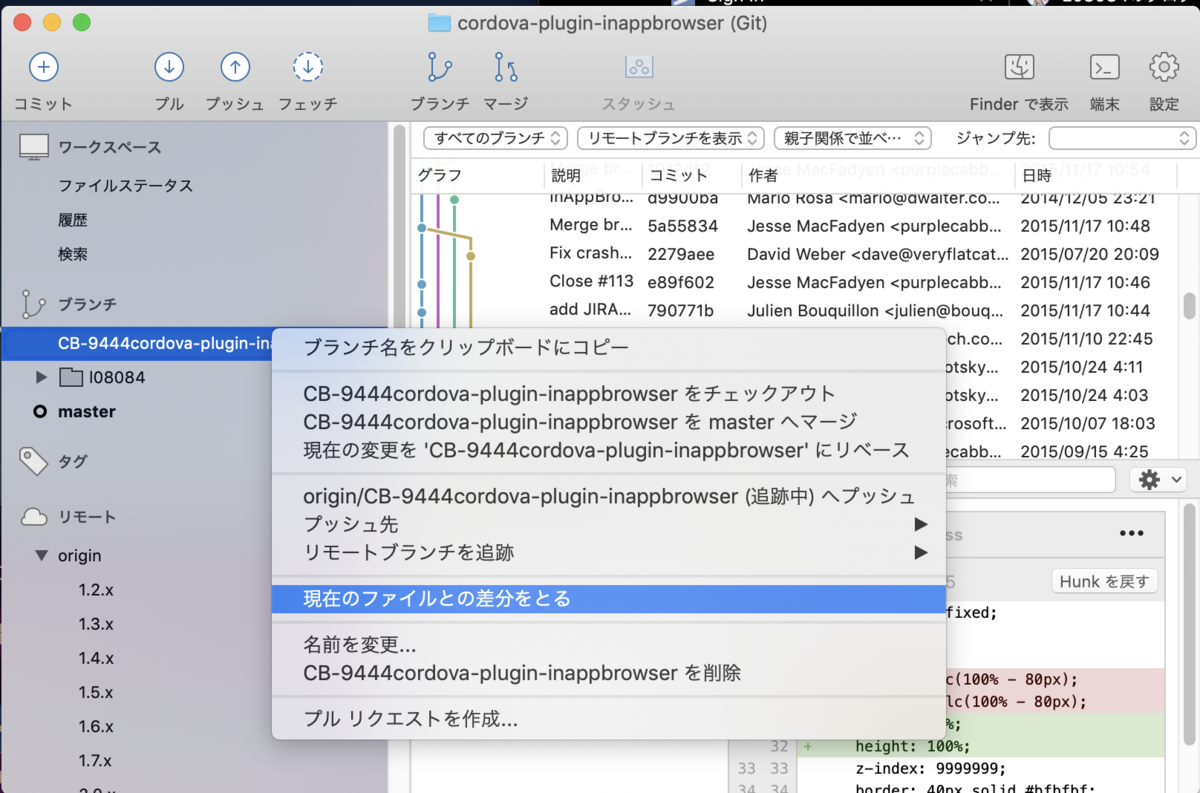
GitクライアントソフトのSouceTreeを使用して、ブランチ間の差分を表示する

環境

  • macOS Mojave@10.14.6
  • SourceTree@2.4

やり方

f:id:l08084:20191116195419p:plain

比較対象のブランチを選択したあと、右クリックして[現在のファイルとの差分をとる]をクリックすると、現在のブランチと選択しているブランチの差分が表示されます。

f:id:l08084:20191116203553p:plain
差分が表示される

差分のあるファイルの一覧とその差分内容が表示されます

【Angular】 送信後にフォームをリセットする

やりたいこと

フォームのSubmitに成功したら、フォームに入力した内容もバリデーションの状態もリセットしたい。

環境

  • Angular@7.2.0
  • Angular Material@7.3.7

コーディング

NgForm.resetForm()を使う。

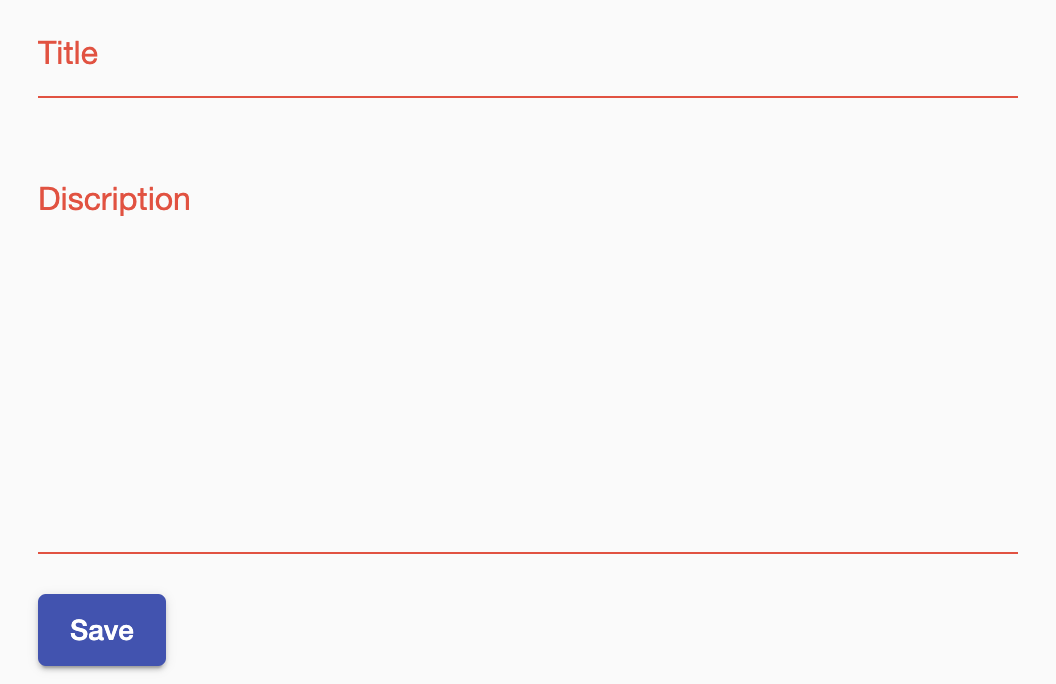
FormGroup.reset()でもフォームのリセットができそうにみえるが、FormGroup.reset()だとフォームの値のみをリセットするため、必須バリデーションなどに引っかかってしまう。

f:id:l08084:20191110190334p:plain
FormGroup.reset()だと必須バリデーションに引っかかる

それでは、NgForm.resetForm()で送信後にバリデーションと値をリセットする処理を書いていく。

まず、テンプレート(HTML)から...

<form class="example-form" (ngSubmit)="onSubmit(createNgForm)" [formGroup]="createFormGroup" #createNgForm="ngForm">
  <!-- タイトル欄 -->
  <mat-form-field class="example-full-width">
    <input matInput class="title" placeholder="Title" formControlName="title" />
  </mat-form-field>

  <!-- 詳細欄 -->
  <mat-form-field class="example-full-width">
    <textarea matInput cdkTextareaAutosize cdkAutosizeMinRows="10" cdkAutosizeMaxRows="30" placeholder="Discription"
      formControlName="description"></textarea>
  </mat-form-field>
  <button type="submit" class="login-button" mat-raised-button [disabled]="false" color="primary">Save</button>
</form>

重要なのは、(ngSubmit)="onSubmit(createNgForm)" [formGroup]="createFormGroup" #createNgForm="ngForm"の部分となる。

#createNgForm="ngForm"でngFormの参照変数を定義した後、その参照変数を(ngSubmit)="onSubmit(createNgForm)"でsubmitイベントの処理に渡しています。

続いて、Submitイベントで呼び出されるメソッドについて

  public onSubmit(form: NgForm) {
    // スピナーを表示する
    this.spinnerService.show();

    // ログインしているユーザ情報の取得
    const user = this.afAuth.auth.currentUser;

    // メモを新規作成する
    this.memo = {
      id: '',
      title: this.titleControl.value,
      description: this.descriptionControl.value,
      createdUser: user.uid,
      createdDate: firebase.firestore.FieldValue.serverTimestamp(),
      updatedDate: firebase.firestore.FieldValue.serverTimestamp()
    };
    this.afStore
      .collection('memos')
      .add(this.memo)
      .then(docRef => {
        this.memoCollection.doc(docRef.id).update({
          id: docRef.id
        });
        // フォームをリセットする
        form.resetForm();
      })
      .finally(() => {
        // スピナーを非表示にする
        this.spinnerService.hide();
      });
  }

メソッドの引数として受け取っているform: NgFormを使って、フォームの保存処理が成功したタイミングでform.resetForm();を呼び出すことによって、フォームの内容とバリデーションのリセットを行なっています。

動作確認

実装が終わったので実際に動かしてみます。

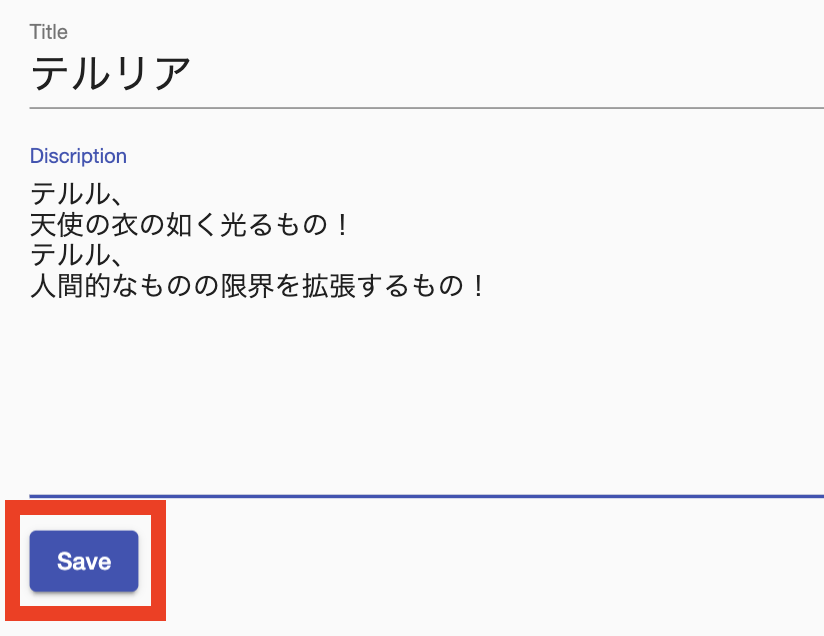
フォームにテキストを入力してsubmitボタンを押下する。

f:id:l08084:20191110192323p:plain
submitボタンを押下すると...

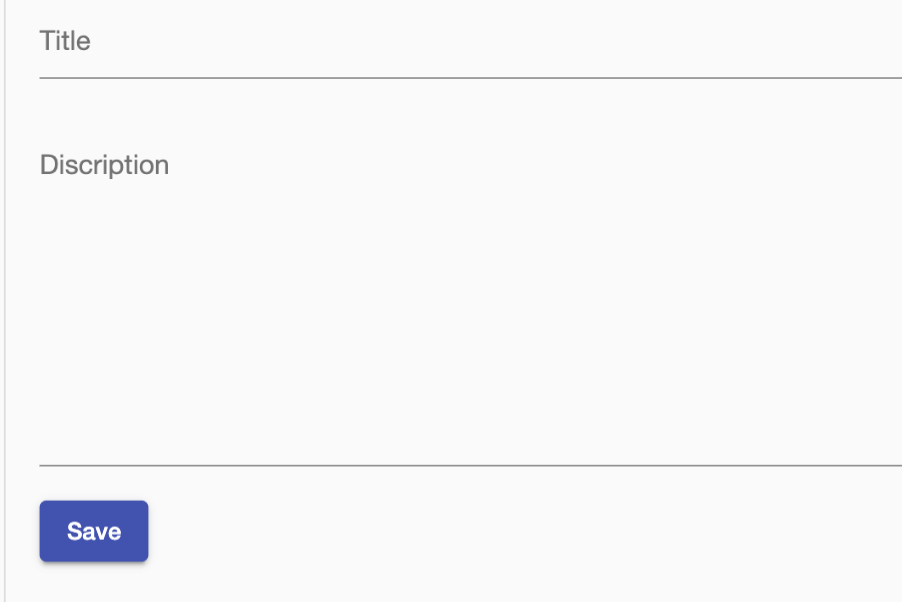
保存処理が成功したタイミングでバリデーションもフォームへの入力内容もリセットされる。

f:id:l08084:20191110192536p:plain
フォームがリセットされている

参考サイト

angular - Cleanest way to reset forms - Stack Overflow

【2021/1/15 追記】

Angular Materialを使用していない場合は、NgForm.resetForm()でもバリデーションエラーをリセットできないとの指摘をいただきました。

Angularで入れ子(ネスト)のルーティング

やりたいこと

<router-outlet>をふたつ設置することで、ホーム画面にサイドメニューを作成します。

一つ目の<router-outlet>では、URLに応じて、ログイン画面・アカウント登録画面などを表示し、二つ目の<router-outlet>をホーム画面のサイドメニューに設置することで新規メモ画面とメモ一覧画面の表示を行います。

一つ目のルーティング基点

f:id:l08084:20191016194956p:plain
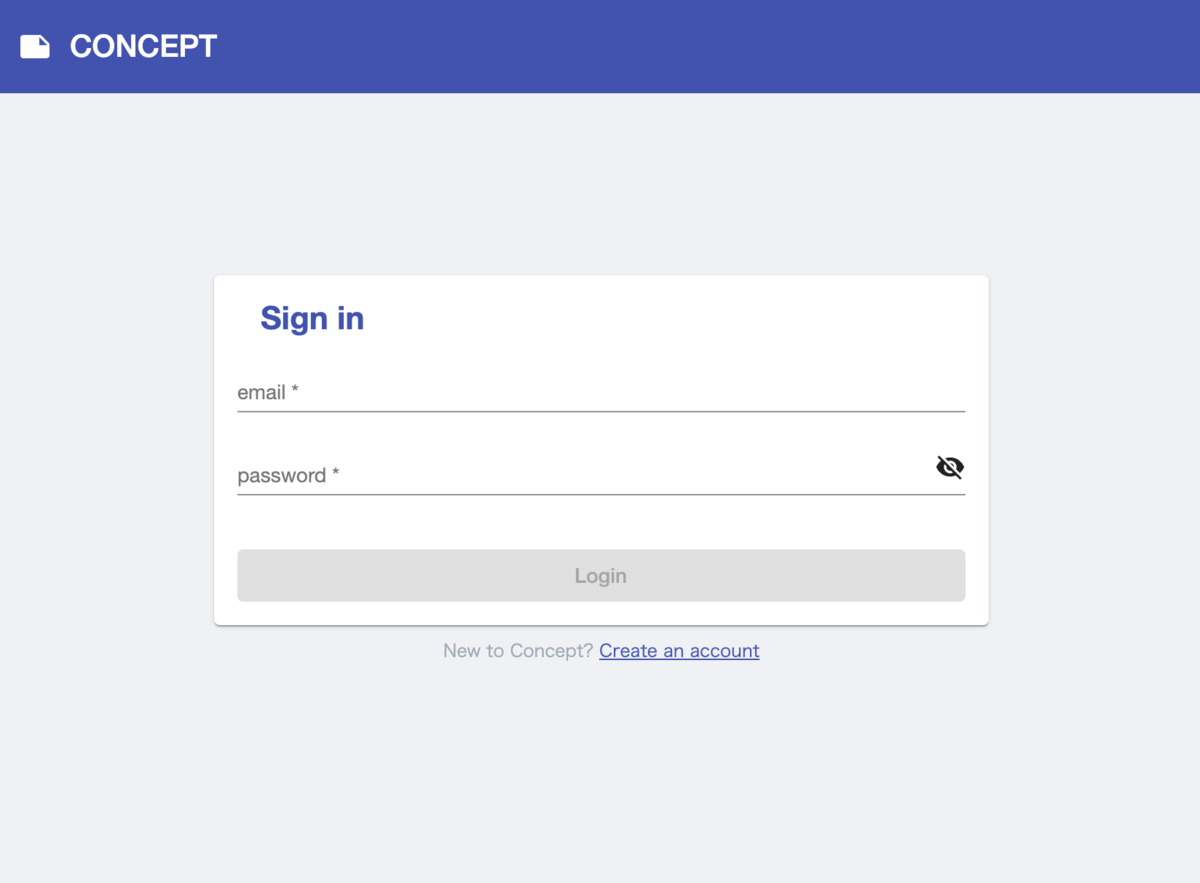
ログイン画面

f:id:l08084:20191016201259p:plain
アカウント登録画面
まず、一つ目の<router-outlet>を設置します。このルーティング基点は、ログイン画面とアカウント登録画面で使用します。

  • src/app/app.component.html
<!-- 全画面で使用するスピナー -->
<app-spinner></app-spinner>
<!-- 一つ目のルーティング基点 -->
<router-outlet></router-outlet>

続いて、ルーティングの構成ファイルとなります。URLが/loginだとログイン画面、URLが/sign-upだとアカウント登録画面を表示します。

  • src/app/app-routing.module.ts
const routes: Routes = [
  { path: '', redirectTo: '/login', pathMatch: 'full' },
  {
    path: 'login',
    component: LoginComponent,
    canActivate: [AuthenticatedGuard]
  },
  {
    path: 'sign-up',
    component: SignUpComponent,
    canActivate: [AuthenticatedGuard]
  },
// ...省略

二つ目のルーティング基点

二つ目の<router-outlet>はホーム画面のサイドメニューに設置します。

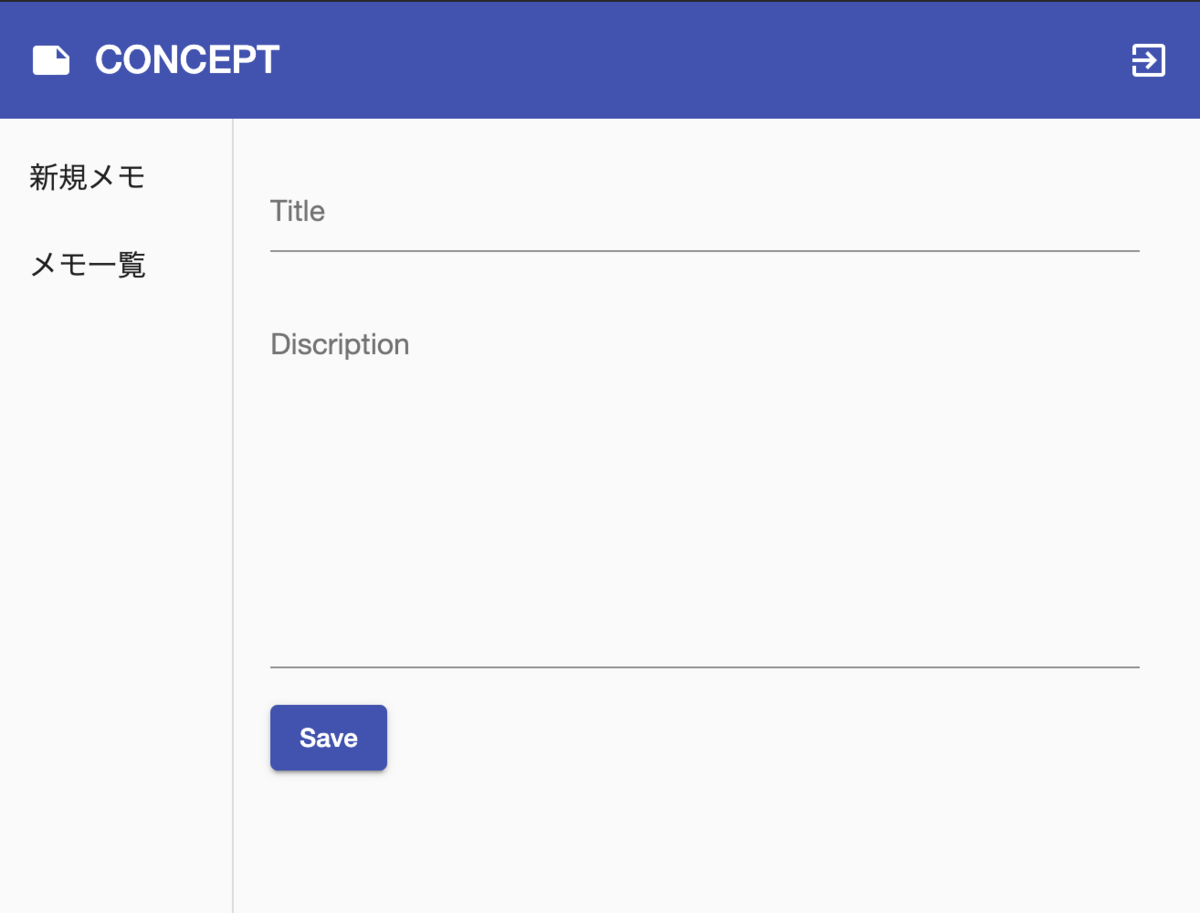
サイドメニューで新規メモリンクをクリックすると、ホーム画面のメインコンテンツ部分に新規メモ画面を表示します。

f:id:l08084:20191016200636p:plain
新規メモ画面

サイドメニューでメモ一覧リンクをクリックすると、ホーム画面のメインコンテンツ部分にメモ一覧画面を表示します。

f:id:l08084:20191016200928p:plain
メモ一覧画面

ルーティングの構成ファイル。path: 'home',のルーティング構成を追加しています。children: []に子のルーティングを設定することで、ネストしているルーティングを実現することができます

  • src/app/app-routing.module.ts
// ... 省略

const routes: Routes = [
  { path: '', redirectTo: '/login', pathMatch: 'full' },
  {
    path: 'login',
    component: LoginComponent,
    canActivate: [AuthenticatedGuard]
  },
  {
    path: 'sign-up',
    component: SignUpComponent,
    canActivate: [AuthenticatedGuard]
  },
  {
    path: 'home',
    component: HomeComponent,
    canActivate: [AuthenticationGuard],
    children: [
      { path: '', redirectTo: 'create', pathMatch: 'full' },
      {
        path: 'create',
        component: CreateComponent,
        canActivate: [AuthenticationGuard]
      },
      {
        path: 'list',
        component: ListComponent,
        canActivate: [AuthenticationGuard]
      }
    ]
  }
];
// ...省略

ネストしているルーティングを使用しているホーム画面のテンプレートファイルです。サイドメニューで選択したリンクをメインコンテンツに表示します。

  • src/app/home/home.component.html
<!-- ヘッダー -->
<app-header></app-header>

<mat-sidenav-container class="container">
  <!-- サイドメニュー -->
  <mat-sidenav mode="side" class="side-menu" opened>
    <mat-nav-list>
      <a mat-list-item [routerLink]="'./create'"> 新規メモ </a>
      <a mat-list-item [routerLink]="'./list'"> メモ一覧 </a>
    </mat-nav-list>
  </mat-sidenav>
  <!-- メイン コンテンツ -->
  <mat-sidenav-content class="main-contents">
    <router-outlet></router-outlet>
  </mat-sidenav-content>
</mat-sidenav-container>

参考サイト

Nested Routes • Angular

Angular Rooter (サブモジュールの使い方) - Qiita